
Solar Panel Installation Guide 2026: Step-by-Step Process for Homes & Businesses
With electricity prices continuing to increase in 2026, solar power has shifted from being merely an environmentally friendly option to a financially strategic investment. Whether you are a homeowner aiming to lower monthly electricity bills or a business seeking long-term energy security, a professionally designed solar PV system can deliver reliable savings for decades.
This guide explains the solar panel installation process step by step, describes how modern solar PV systems work, and shows how Ellence Energy LLP delivers a smooth, end-to-end installation experience using advanced engineering practices.
What Is Solar PV Installation?
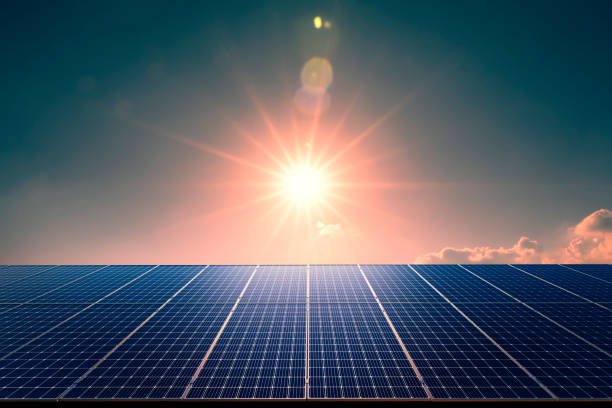
Solar photovoltaic (PV) installation refers to the deployment of a system that converts sunlight into usable electrical energy. By 2026, solar technology has advanced significantly, with high-efficiency N-Type TOPCon solar modules becoming the industry standard. These panels perform efficiently even under low-light and high-temperature conditions, making them ideal for Indian climates.

How Do Solar Panels Generate Electricity?
Solar panels operate using the photovoltaic effect, which converts sunlight into electrical energy through the following stages:
- Sunlight Capture:Solar cells absorb sunlight particles (photons).
- Electric Charge Creation:The absorbed energy activates electrons within the cells, generating Direct Current (DC).
- Power Conversion:The inverter converts DC power into Alternating Current (AC), suitable for everyday appliances.
- Usage & Export:Generated electricity is consumed on-site, stored in batteries, or exported to the grid.
Types of Solar PV Systems
On-Grid Solar System
- Connected to the utility grid
- Excess energy is exported via net metering
- Ideal for locations with reliable grid supply
Off-Grid Solar System
- Fully independent of the grid
- Requires battery storage for night-time use
- Suitable for remote or power-deficient areas
Hybrid Solar System
- Combines grid connectivity with battery backup
- Ensures uninterrupted power during outages
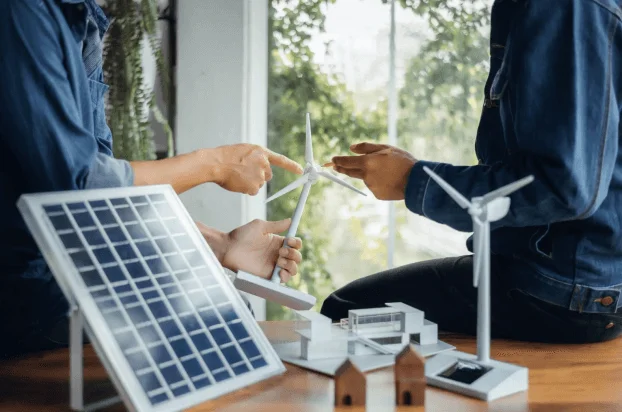
How Ellence Energy LLP Simplifies Solar Installation
Understanding how to install solar panels can feel overwhelming, but Ellence Energy LLP manages the entire journey—from planning to commissioning—acting as a trusted solar partner rather than just a supplier.
Key Advantages:
- Free Technical Consultation:Detailed site analysis and energy assessment tailored to your property
- Complete Documentation Support:Handling of subsidy applications, net-metering approvals, and DISCOM coordination
- Precision Design Engineering:Advanced simulation software ensures optimal panel placement with zero shadow losses
- End-to-End EPC Execution:Single-point responsibility from system design to final commissioning, avoiding delays and coordination issues
Pre-Installation Requirements
Site Survey & Structural Assessment
Installers evaluate roof strength, available area, and shading to confirm structural suitability for solar mounting systems.
Selecting the Right System Capacity
Solar system size depends on monthly electricity consumption:
- 1–2 kW:Small homes (~150 units/month)
- 3–5 kW:Standard households (300–500 units/month)
- 10 kW & above:Large residences and commercial buildings
Roof Orientation & Tilt Optimization
For maximum energy generation in India:
- Panels should face true south
- Tilt angle generally aligns with the site’s latitude
- North India: ~25°–30°
- South India: ~10°–15°
Solar Panel Installation Process: Step-by-Step
Step 1: System Design & Load Calculation
Engineers calculate connected load and energy demand to determine inverter size, cable ratings, and panel layout. High-wattage modules allow efficient use of limited roof space.
Step 2: Mounting Structure Installation
Roof-mounted or elevated structures are installed to achieve the correct tilt. All structures are designed to withstand high wind speeds.
Step 3: Panel Placement
Solar modules are securely fixed using certified clamps, ensuring adequate spacing for ventilation and thermal expansion.
Step 4: Electrical Wiring
Panels are interconnected using MC4 connectors:
- Series connectionsincrease voltage
- Parallel connectionsincrease current
UV-resistant DC cables carry power safely to the inverter.
Step 5: Inverter & Battery Installation
Inverters are installed in well-ventilated areas. Hybrid systems include battery integration for backup during outages.
Step 6: Grid Synchronization & Net Metering
A bi-directional meter is installed by the local DISCOM to record power import and export, enabling billing adjustments.
Step 7: Testing & Commissioning
Final inspections include performance testing, earthing checks, and system safety verification before handover.
Safety Measures During Solar Installation
Electrical Safety
- Use insulated tools and protective gloves
- Ensure proper earthing and lightning protection
Working-at-Height Safety
- Mandatory use of helmets and safety harnesses
- Avoid installation during rain or high winds
Professional Installation vs DIY
While small DIY systems exist, installations above 1 kW involve electrical and structural risks.
Why Choose a Professional Installer?
- Eligibility for government subsidies
- Manufacturer warranty protection (up to 30 years)
- Compliance with electrical and safety standards
Average Solar System Cost & ROI (2026)
|
System Type |
Avg. Cost per kW |
Payback Period |
|
On-Grid |
₹45,000 – ₹55,000 |
4–5 years |
|
Off-Grid |
₹70,000 – ₹1,00,000 |
6–8 years |
Government Subsidies & Approvals
Under PM Surya Ghar: Muft Bijli Yojana, residential consumers may receive:
- Up to 2 kW:₹30,000–₹60,000 subsidy
- Above 3 kW:Subsidy capped at ₹78,000
Applications must be submitted through the National Rooftop Solar Portal.
Post-Installation Maintenance Tips
- Panel Cleaning:Use clean water every 15 days to remove dust and bird droppings
- Annual Inspection:Professional check-up of wiring, inverter, and system performance
Conclusion
A solar PV system is a long-term asset with a lifespan of 25–30 years. Even small installation errors—such as improper earthing or incorrect tilt—can significantly reduce energy output over time. By choosing advanced solar technology and a professionally managed installation process with Ellence Energy LLP, you can maximize financial returns while contributing to a cleaner and more sustainable future.
admin